I think when anyone moves into their first home, there’s always a few things they want to fix up. Compounded by the fact that there are numerous renovation TV shows on HGTV showing you how easy and quick it is (eye roll). Though we do like watching Love It Or List It, my motto for big, important jobs has always been higher professionals.
So here’s a behind-the-scenes peak of our guest bathroom renovation as first time homeowners.
Project overview: (Hilary Farr, “ok, what’s my budget?”)
Cost range: $30-$35K I’m providing a range here because obviously things are different based on the state, project SOW, and the GC that you use. Happy to report we did not go over budget.
Timeline: ~7 weeks. The crews started the first week of May and finished June 18,2024.
Estimated timeline: 4-6 weeks
Reason for delays: weather, materials – additional ceiling fan parts had to be ordered for a sloped ceiling.
Our Renovation included:
- Guest bathroom full remodel – modernize it, update the toilet, shower & install a soaker tub, light fixtures, new flooring, paint and a fan.
- Kitchen: Install kitchen hood vent over the grill and vent it to the exterior
- Kitchen cabinet: Install custom cabinets with a break between the upper and lower cabinets to accommodate a small countertop space.
- Electrical: Install ceiling fans and hallway light fixtures
- Update exterior patio door frame, removing rotted wood bottom and replacing with a weather proof frame.
- Kitchen windows: Install two, new kitchen windows over sink that crank to open.
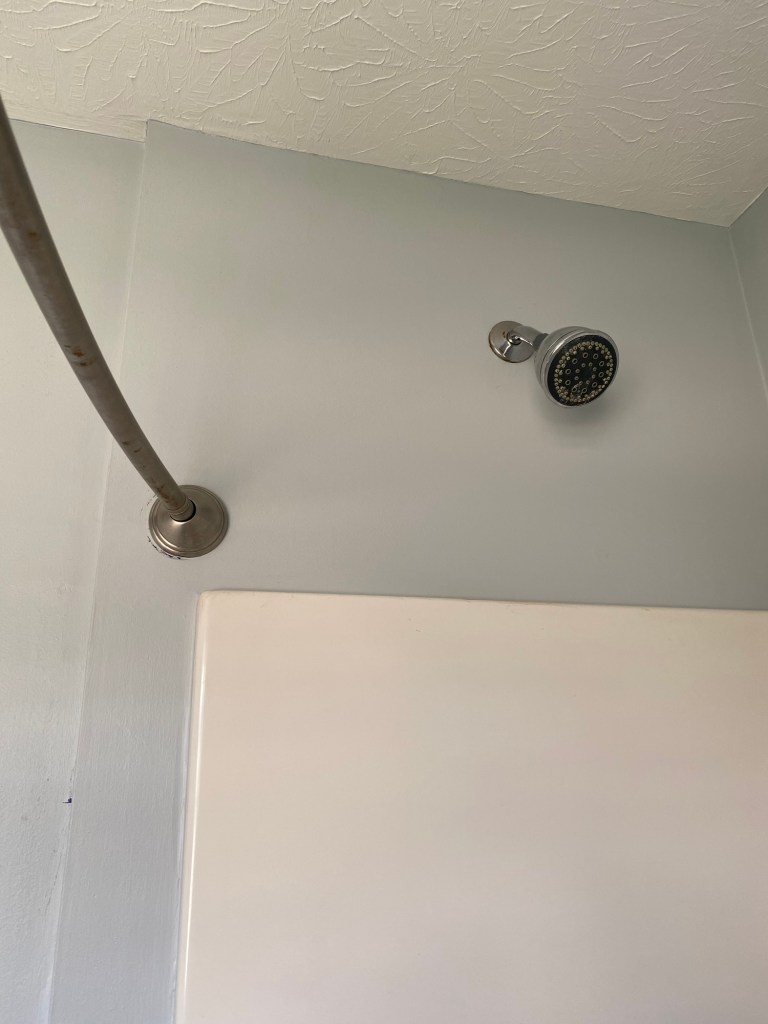
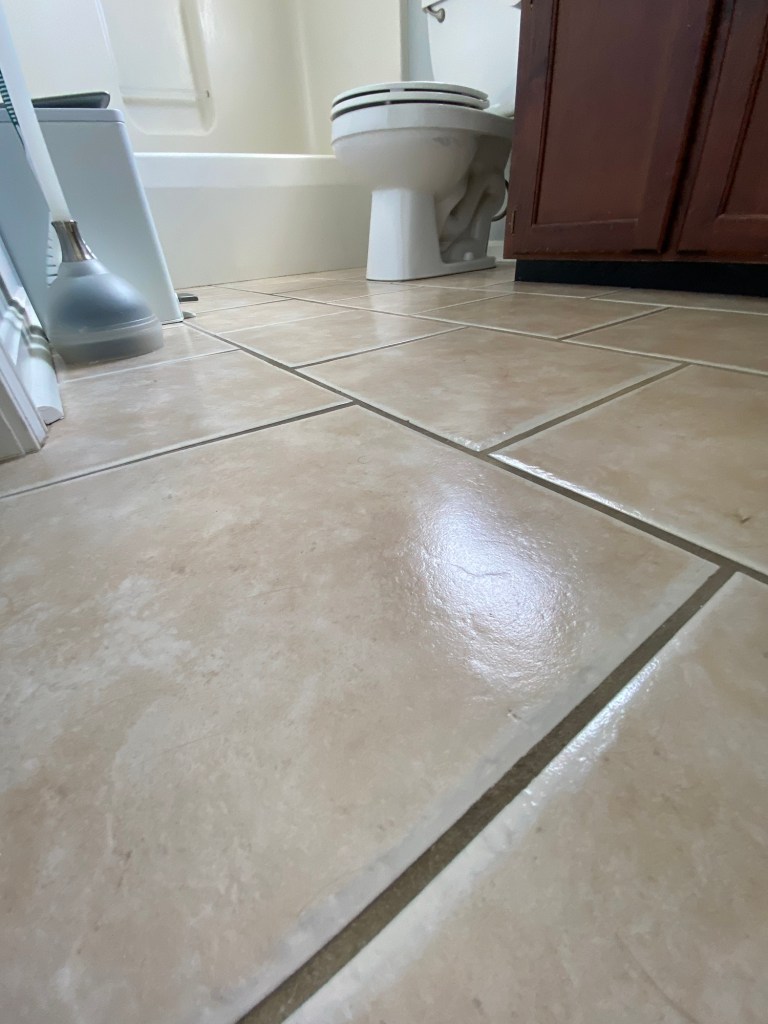
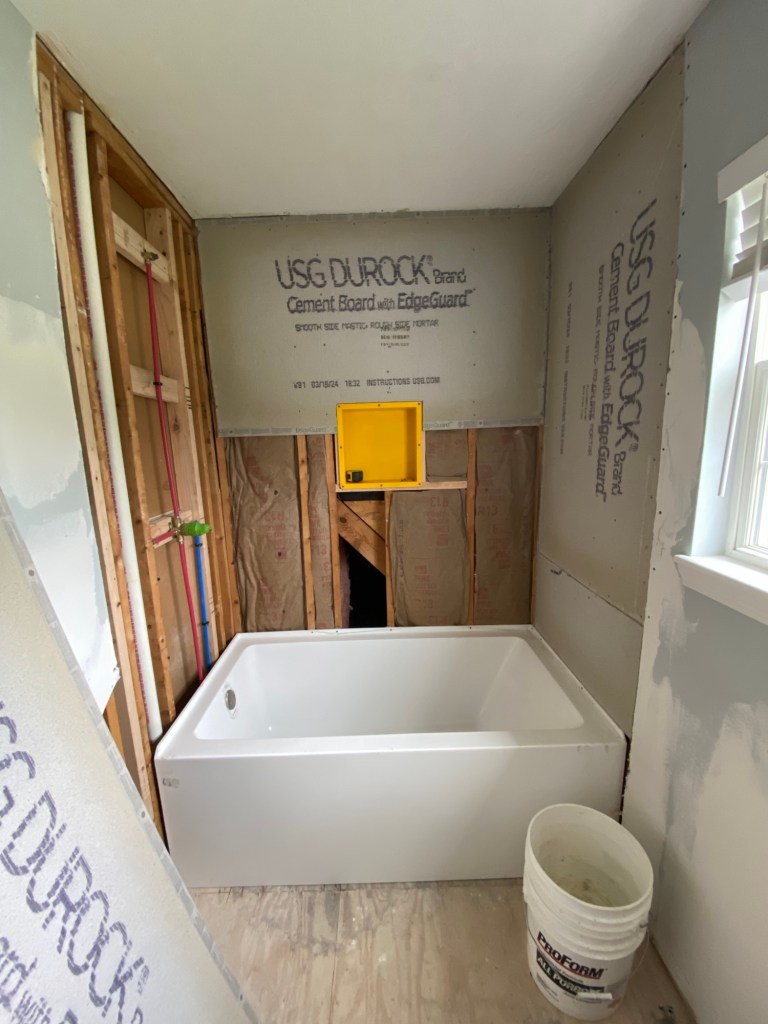
Here’s what we started with
An outdated, tired looking second floor guest bathroom where the vanity and toilet was the perfect height for little kids or the elderly (?). Everything needed to be updated from the light fixtures to the bathtub—just all of it.


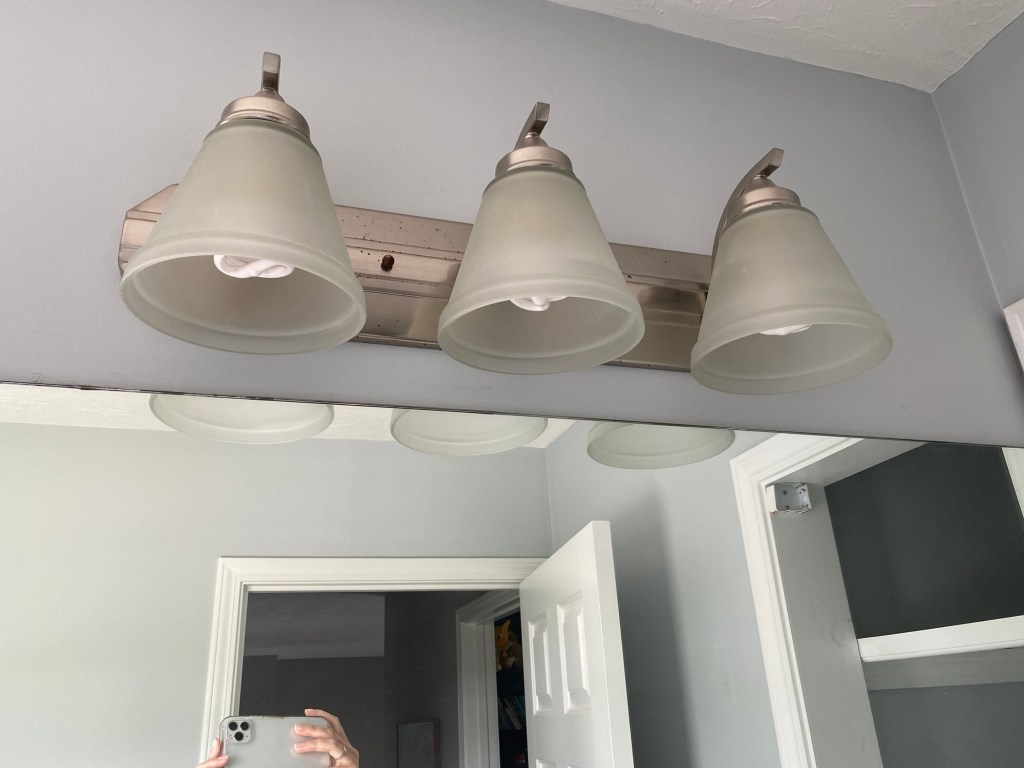


When we bought the home, we knew we eventually wanted to renovate this area.
This is literally the first thing people see when they come up the stairs. Not only do we want it to be nice for our guests, but with a home office, I frequent this restroom as well.
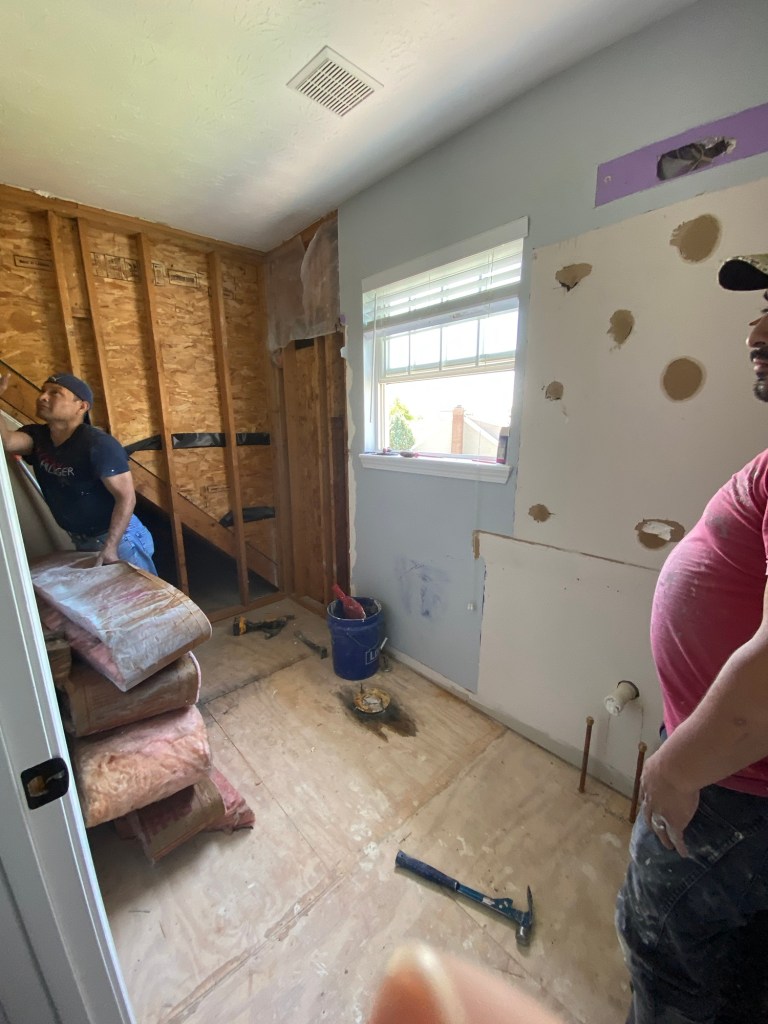
Our project start day was delayed a bit but when we finally got going, they really got going.
Kitchen window installation
There was a break in the weather and our new kitchen windows could be installed. It took all day and the installer did incredible work.
Fun (stupid) fact we found out when removing the siding: there’s no Tyvec on our home so we need to be mindful of caulking holes in the siding. #meltyface
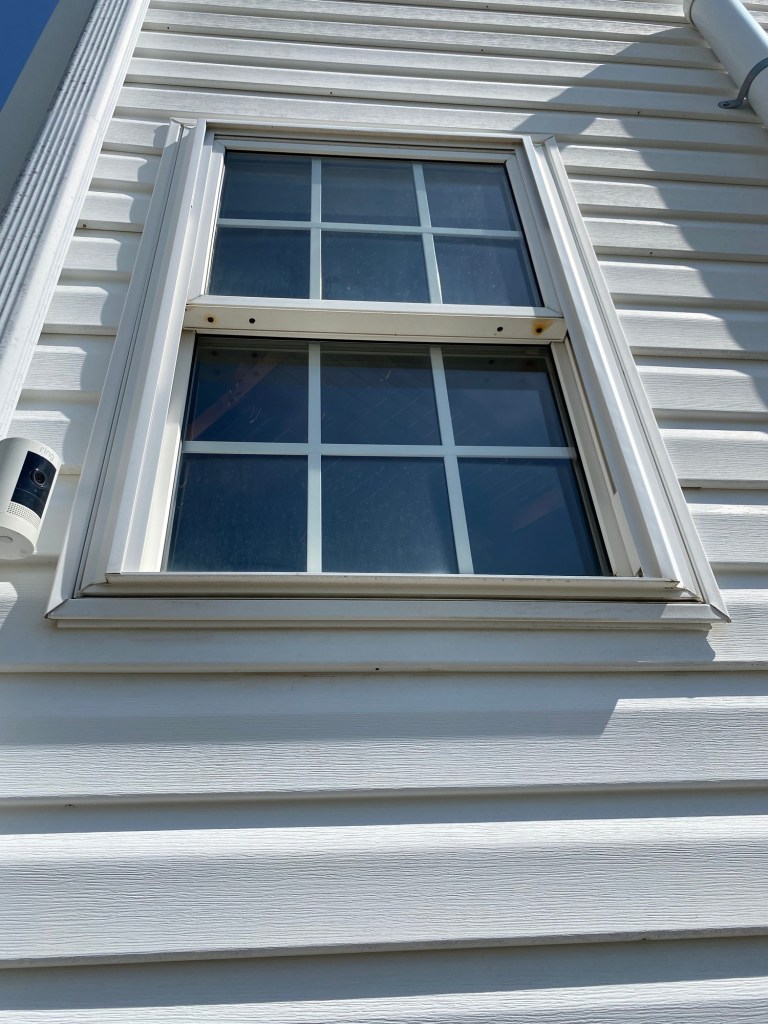
Alright, I know you’re thinking, “show me something already”

This is what we started with: they’re probably the original windows for the house of 20+ years. Sticky from cooking grease (I’m married to a chef and he cooks on high heat), not to mention opening these required bending over the sink to release the latch and hoist up windows. They also stopped latching at one point so. Yeah. Time to replace.
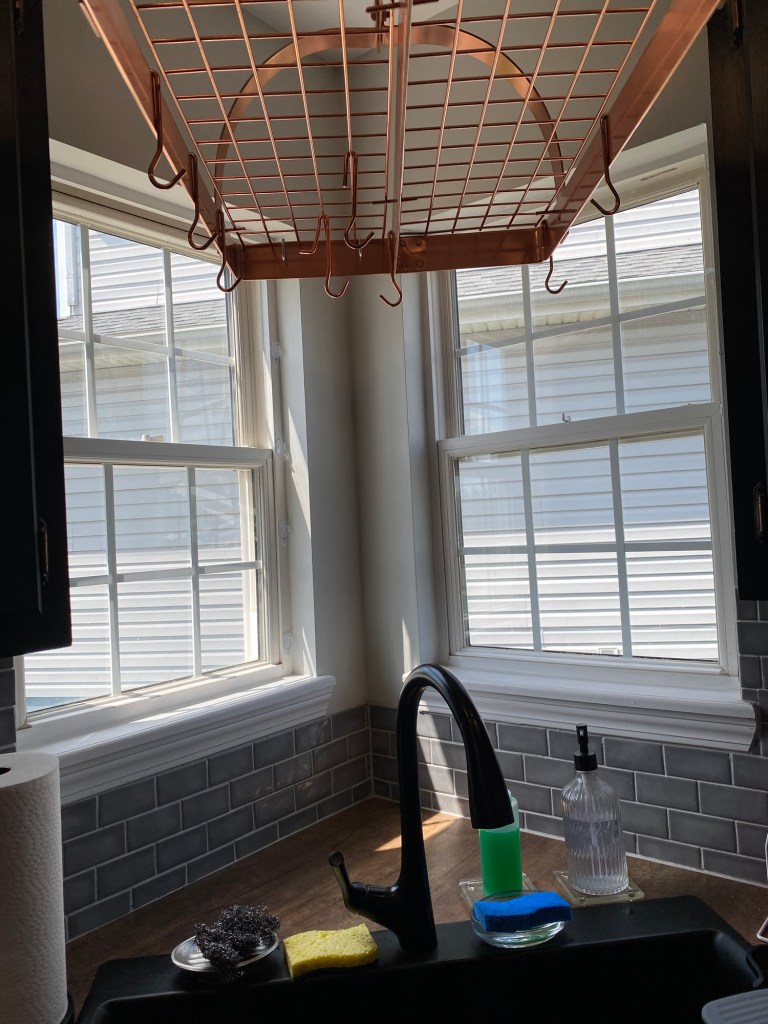

The installation…


It’s visibly subtle but the new style makes a big difference in terms of actually being able to access the windows. On those rare, low humidity days in Louisville, I adore being able to open one or both of these windows while I catch up on dishes and listen to the birds sing outside.
I feel like this should’ve been included with the original architecture of the house. But I’m sure it wasn’t due to cost.
Electric installation
As I mentioned, we had a few new electrical features installed. We wanted to update the dated, frosted bowl lights flush-mounted on the ceiling and in ceiling fans.

We picked this out at Menards. It’s more eye catching of a design than a bowl light and it also provides way more light to the staircase and landing area.
Picking out bathroom tile
Prior to this, I would say this is why you work with a GC team that has a designer on the roster.
As a digital professional, I know the value of design-minded individuals and love working with user experience designers for websites because they’re truly designing for the best customer experience.
IRL, and for my own home, I was super excited to be working with a designer because I knew this person would help course correct our decisions as needed.
We spent an afternoon with her visiting a few local locations picking out tile. One was The Tile Shop in Louisville. It’s nice to get inspiration online but it really pays to be able to touch and feel what is actually going to be installed.
As far as the pattern and design element, I don’t think you could have sold me on the fact that this was what we would have landed on. It was a new and fun experience for both my husband and me to tangibly envision different tile combinations (there should have been champagne, maybe not.) but the picking out part is really fun.

So, gradually, day by day, I’d start seeing what we picked out taking shape.


Things really started to come together when the floor tile was installed. The workers were kind enough to call me in to see it laid out first one way so that I could advise I’d like it laid out the other way.
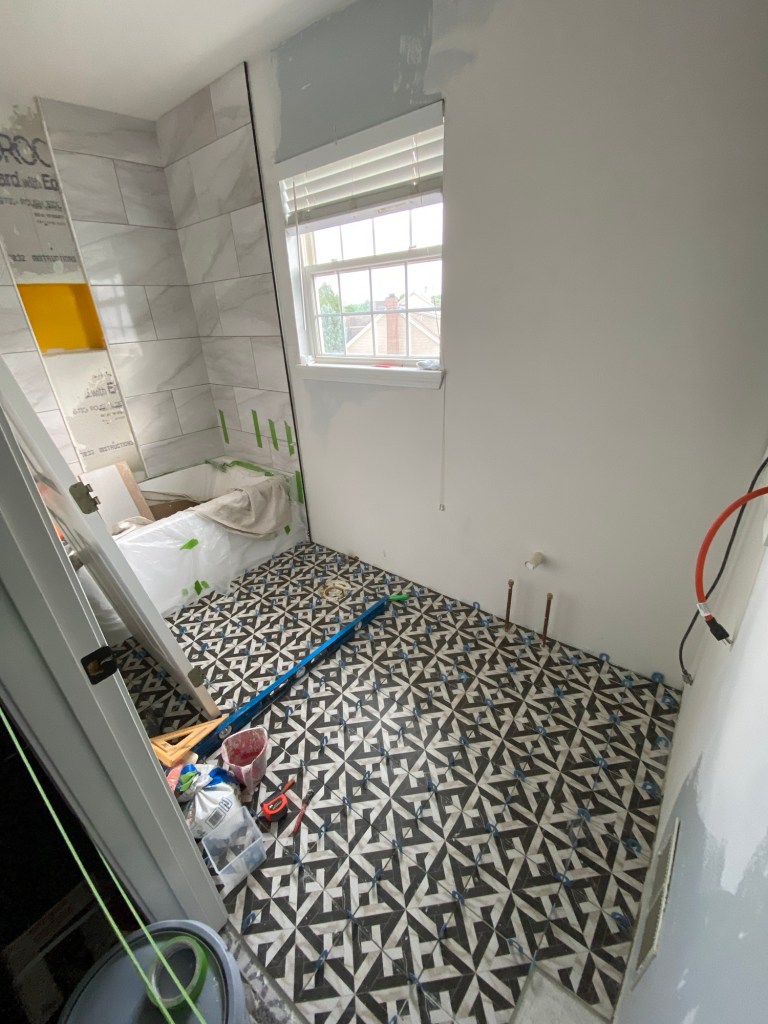


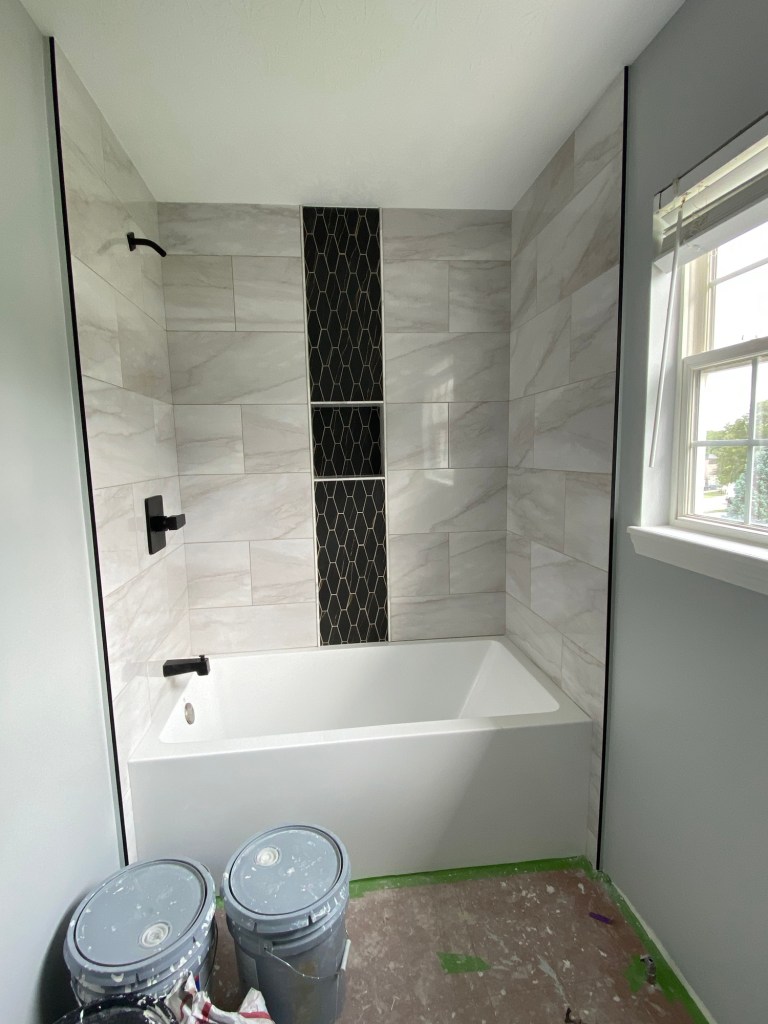
Then the black accent backsplash of the shower went in and it really started coming together.
Let’s pivot to outside for the patio door frame…
Updating the exterior patio door frame
Ugh, why use wood when it’s only going to eventually rot? Oh right…cost. And Maybe because by the time you do, it’ll be someone else’s problem. Great.
Well, here’s what we were dealing with: bottom rot. Don’t ask me about the weathering deck; it’s next (maybe) on the repair list. But out of scope for this project.
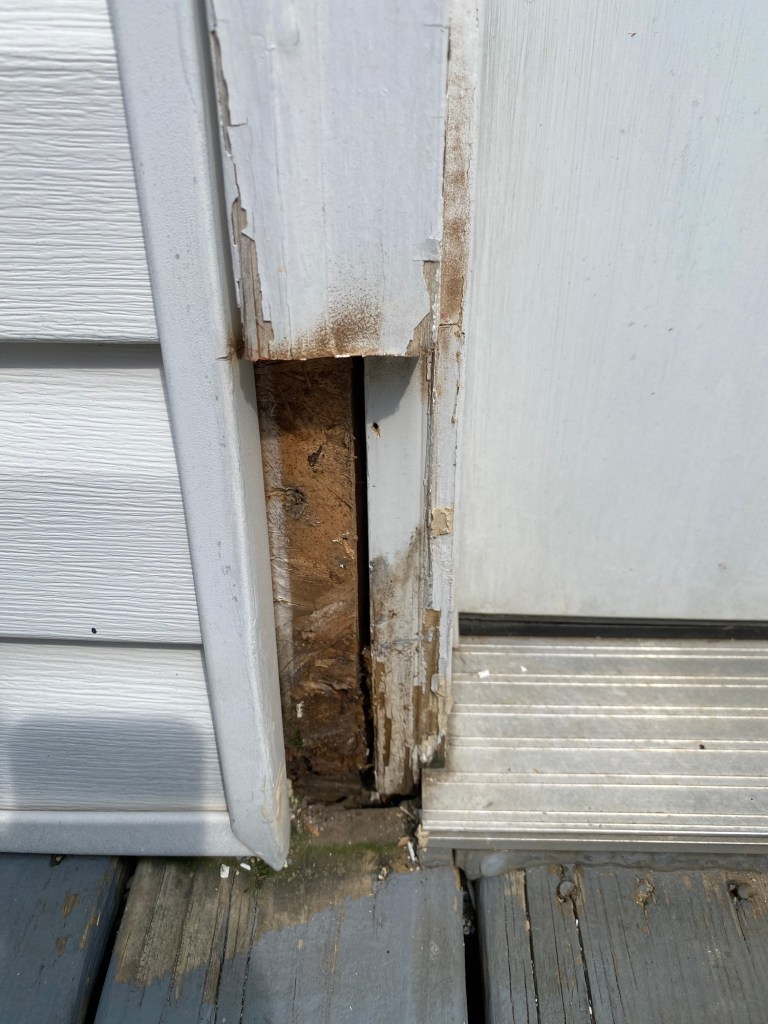

The team cut it out and capped it. Then came back another day to replace the full door frame with a more weather proof exterior.
It looks so much better and is water resistant!


Also, Rizzo loved the (short lived) upgrade too 😉 very easy access to the backyard.

Ok, so we’re now mid project and I’m now in full IDK what’s happening next mode so I relied on our project manager to tell me who and what was coming up next. Very exciting: the custom kitchen cabinet where I do my organizing.
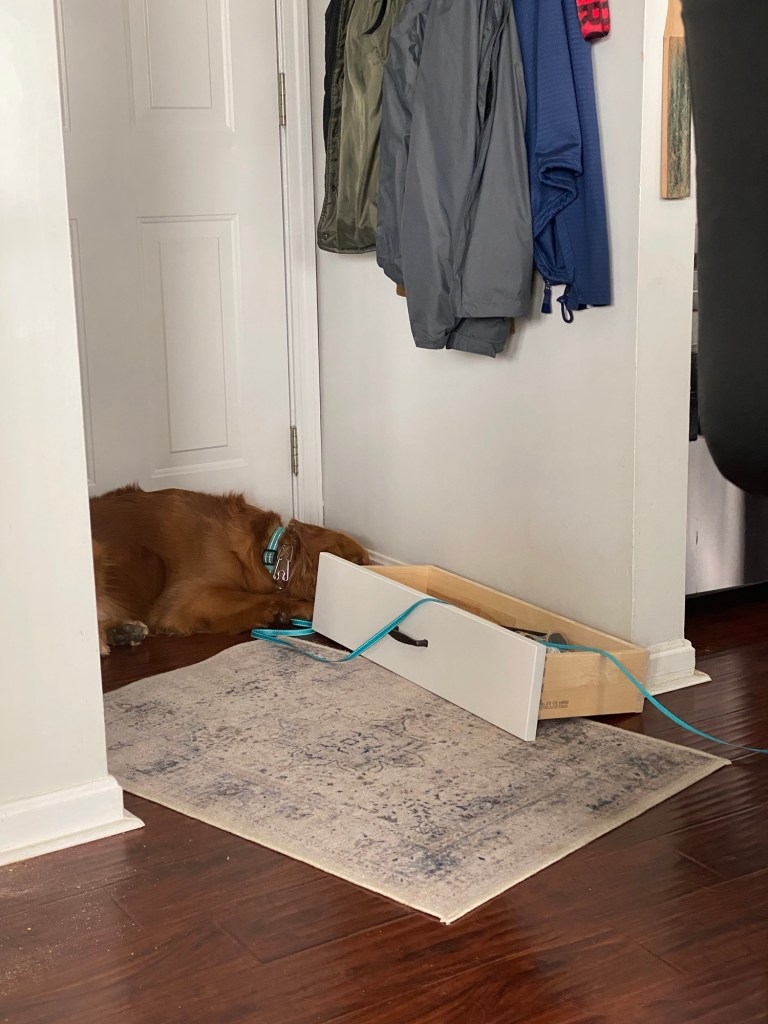
My kingdom for a mud room – for now built in cabinet & shelf
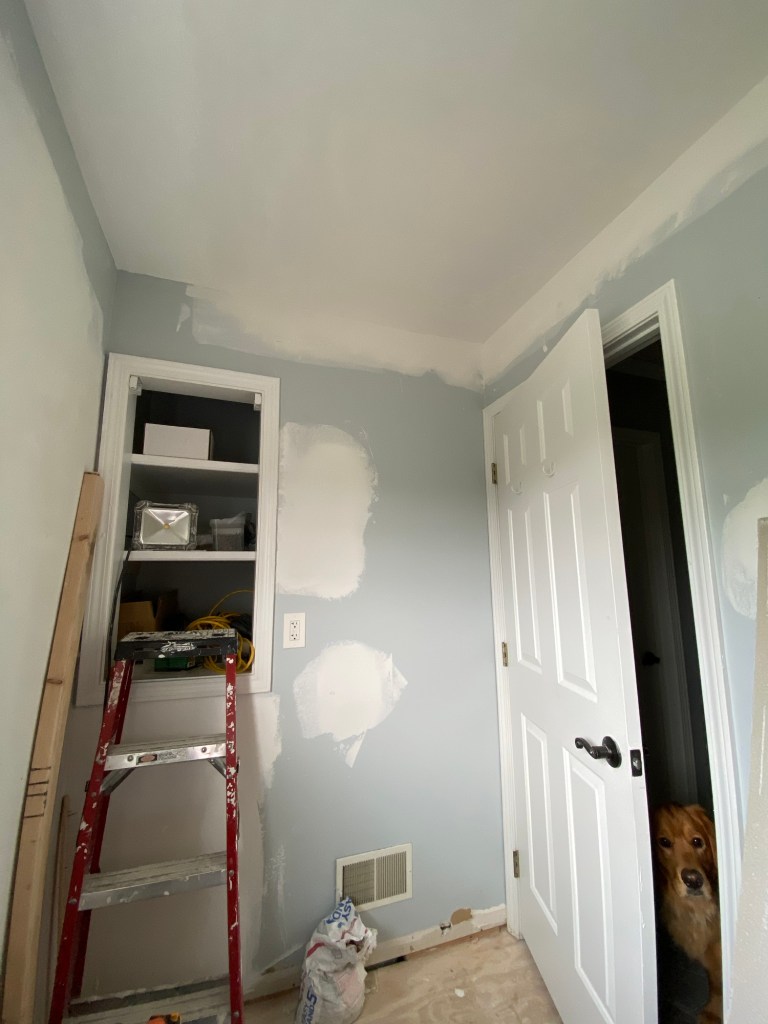
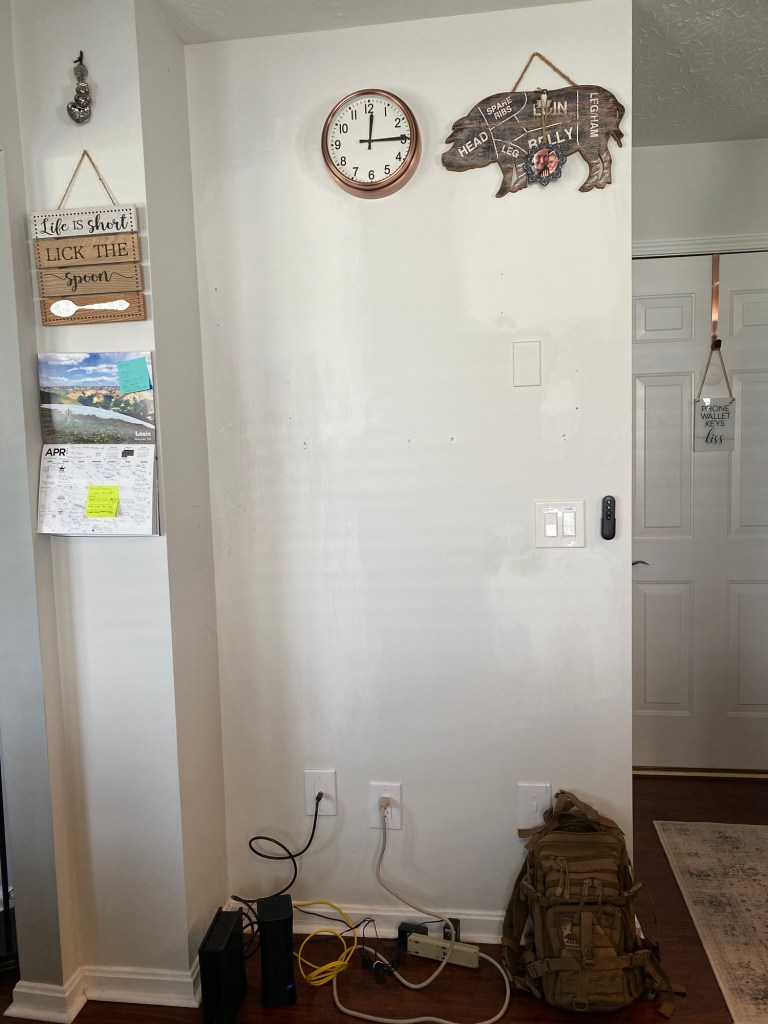
Before, we had this random, sad little blank wall where everything needed to happen but nothing was going on. Ha! That’s a metaphor for something.
Admittedly, this is the space we’re working with in this house and there’s not an area for a full mudroom and not a drop zone for purses and shoes, but I was determined to at the very least create a space for organizing the projects of our life. My inspiration:

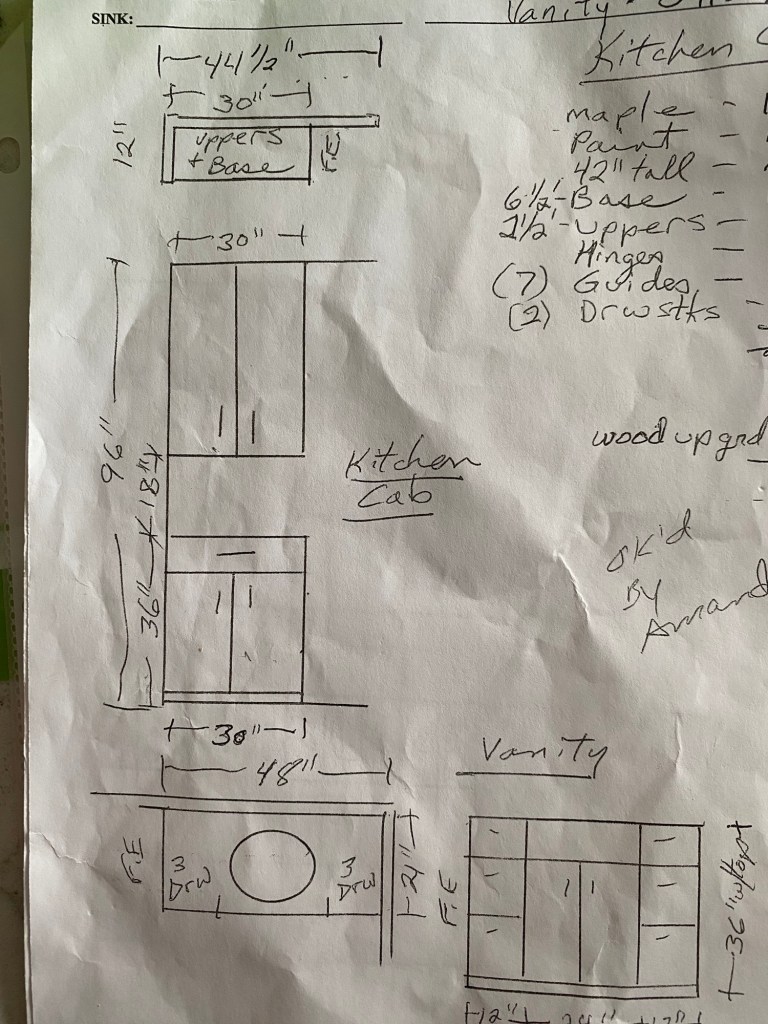
Vs. The space we were working with. We had 30 inches (b/c we also installed a kitchen island – the chef’s counter!) and there needs to be clearance for furniture etc. rounding the corner. So, 30″ it is.

So, the SOW here is to create and install a custom cabinet with counter space and there’s cabinet space above (future pantry etc.) to the ceiling. Install an electrical plug on the exterior side of the lower cabinet and cut a grommet hole in the top to be able to pull cables up through.
Why? Fun fact, the modem & internet router is also plugged in here. Imagine my enthusiasm.
So, here you go. The before:

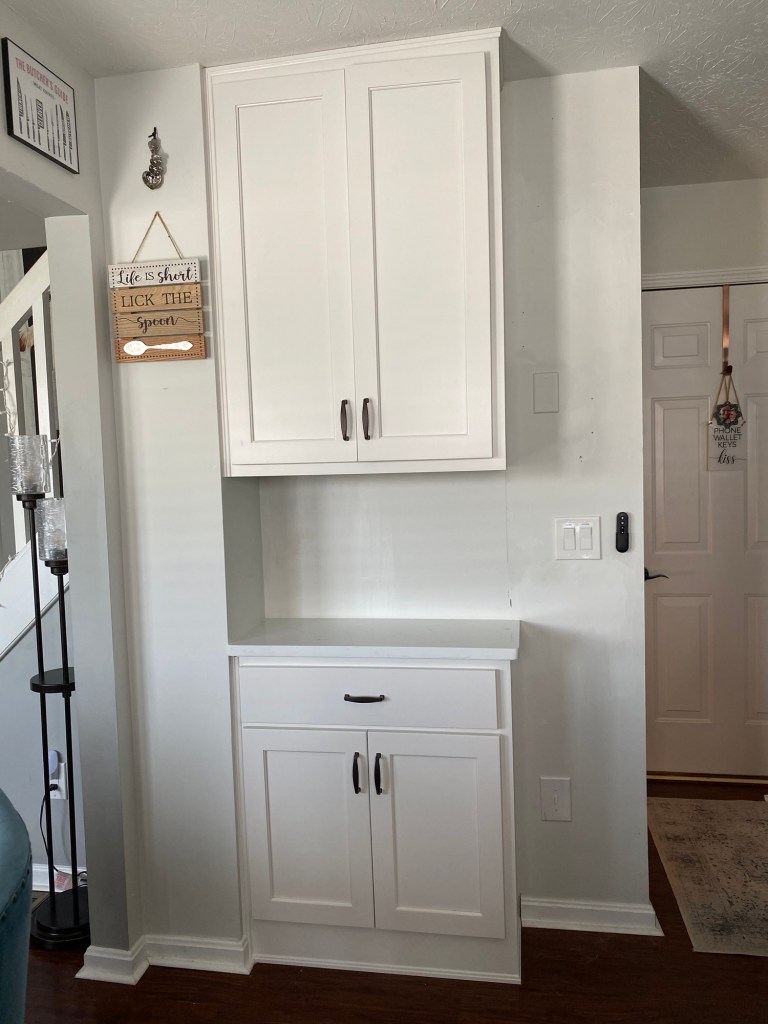
The installation.


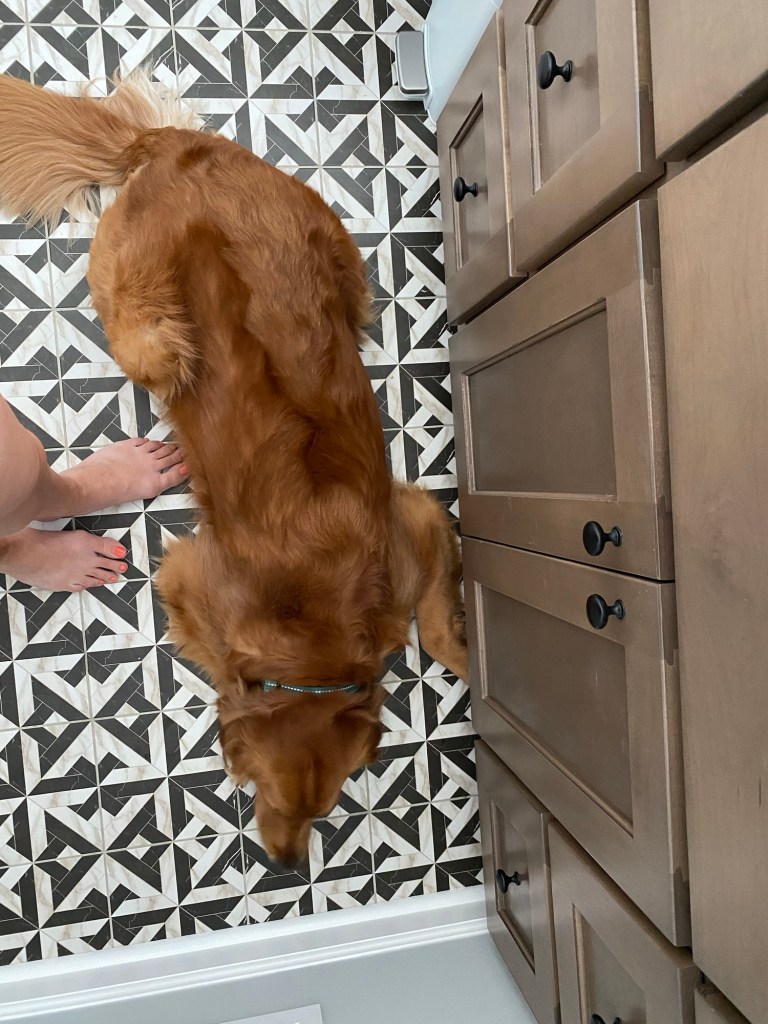
Omg I’m immortalized in this house 😉

Finally, it’s coming together! it’s mine, all mine! I have to admit, when it came together I was shocked. Look how well we maximized the space!


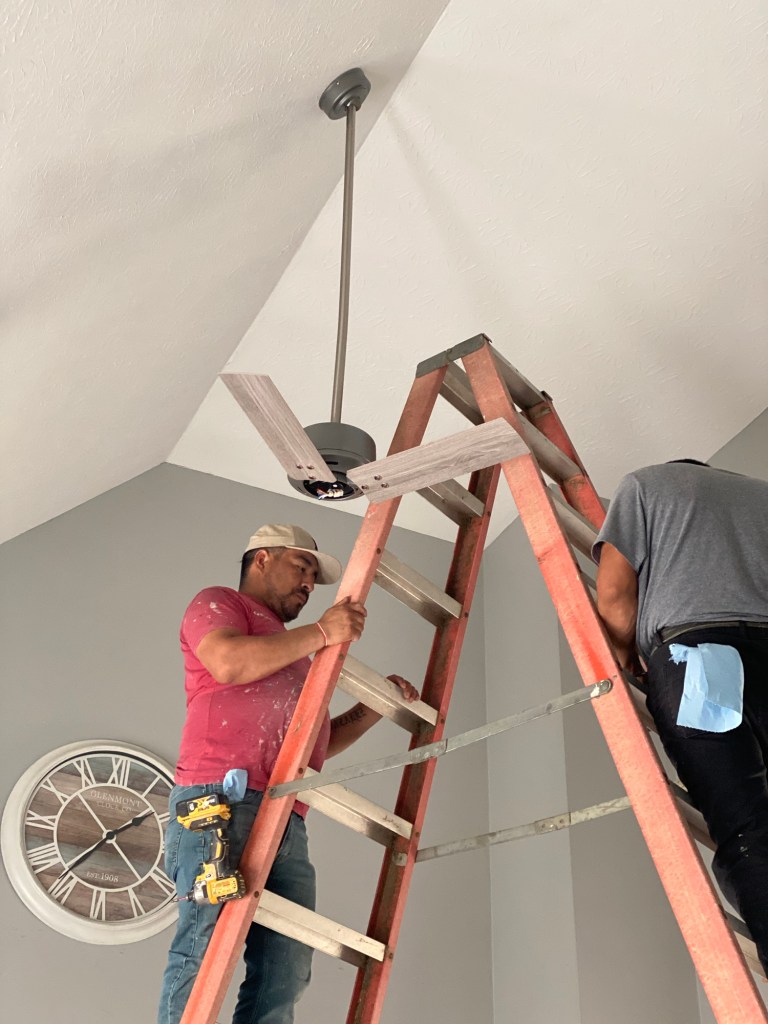
Updating outdated ceiling fans
Then the fun part of un-installing the existing ceiling fan. Only to discover the hardware we bought also needed a 4 foot down-rod to complement the install.
Because this beauty had. To. Go.

I had to research 60” ceiling fans. What’s a down-rod you ask? It’s the rod connecting the fan to the ceiling. I guess the standard size is 2 feet; we needed 4 ft. I also leaned what a slope kit is due to our sloped ceiling. It turned out we didn’t need that pice.
They took it down.


Another fan also had the similar frosted bowl. Why?

Who needs or wants a frosted bowl? The only frosting I need in my life are diamonds.

We wanted exposed lights on ceiling fans that actually produce light into the room. Strange that there aren’t more products on the market like this.
A chef worthy kitchen hood vent
This isn’t going to look like much, but it’s the hardware that counts 🙂
Glenn wanted an industrial grade kitchen hood vent and for it to vent outside so that he can cook on high heat and not have the interior of our kitchen fill up with smoke. Easy peasy. This is the before:
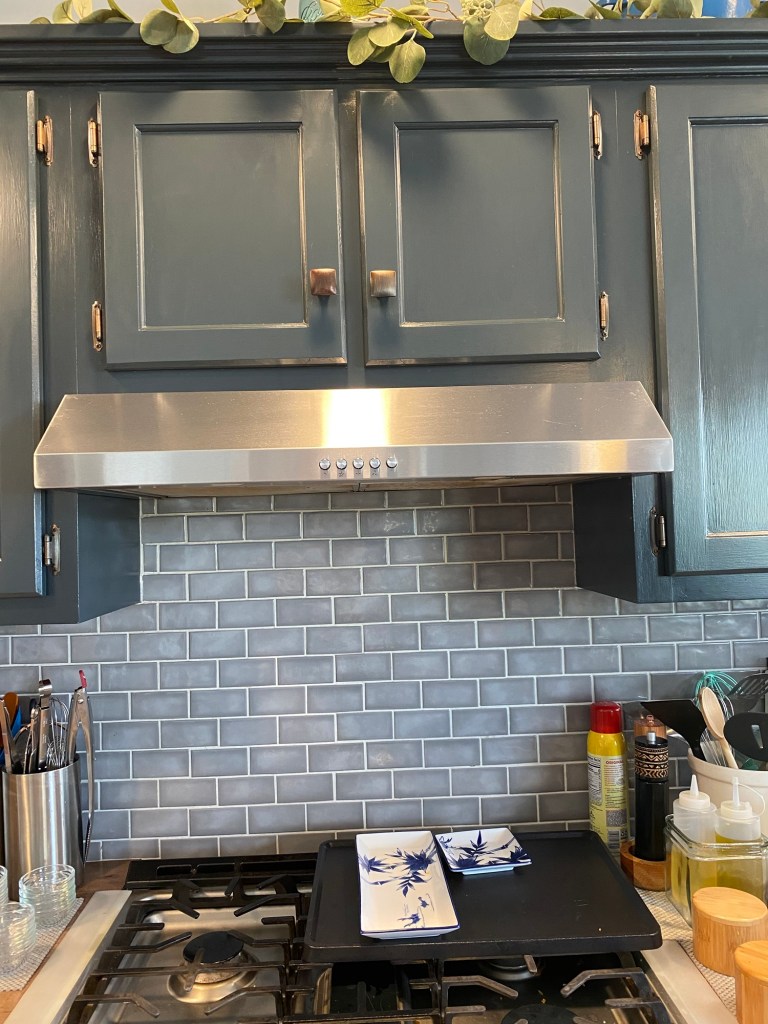
Let’s get to work! After sourcing the hood vent on Lowes.com and it arriving, the team installed it in one day. Incredible!


The new result:

You guys!!! Who wants steak?! I told Glenn the ultimate test is making potato latkes b/c there is a lot of high heat involved cooking on a cast iron skillet.
Back to the guest bathroom y’all
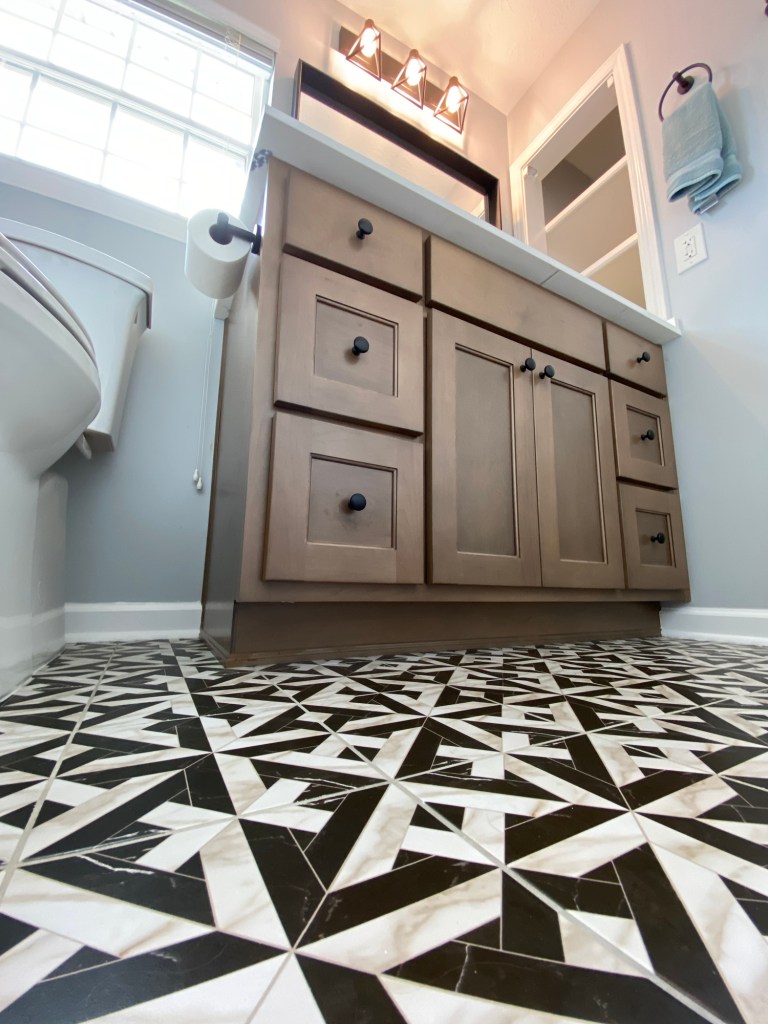
We’re almost done! Counter tops need to be installed. Weeee! Look at that floor!
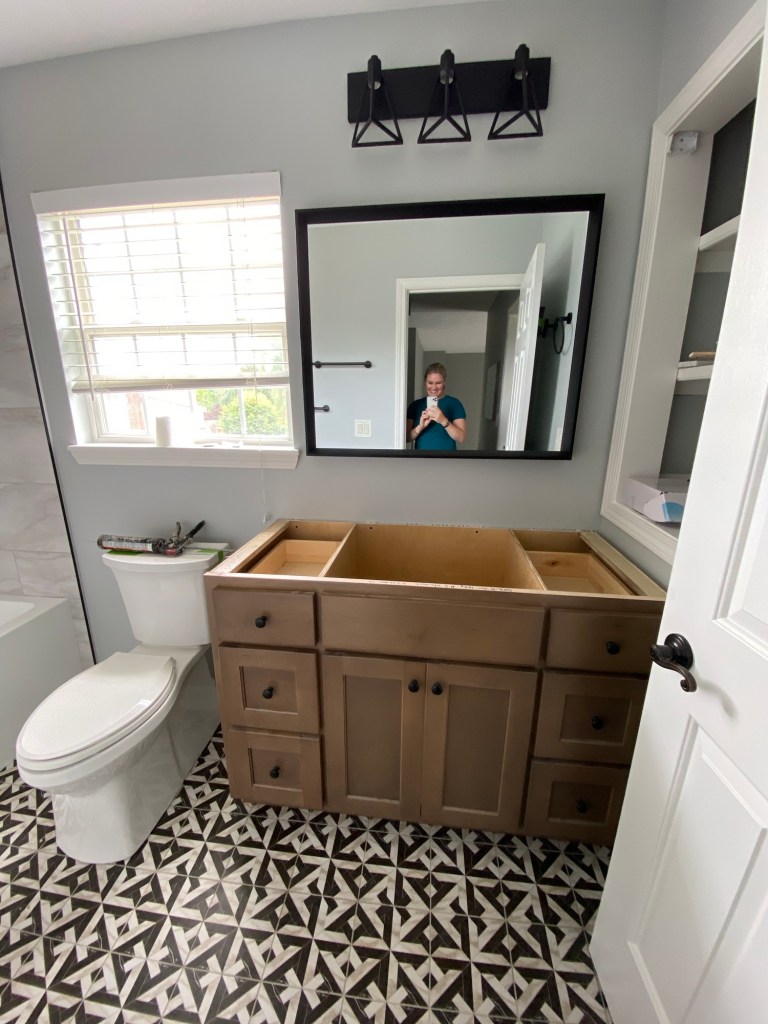
Don’t be fooled, I’m making it look easy. The installers spent the better part of an afternoon putting this in and creating a small back splash to make sure no water would drip over the sides where it met the wall.
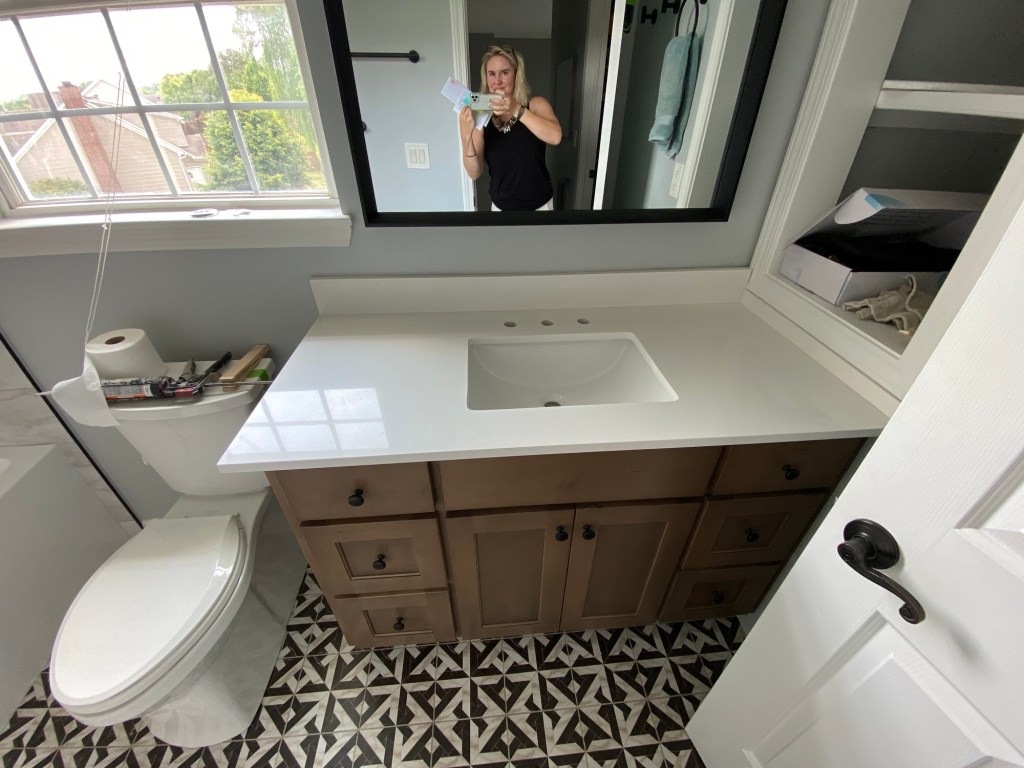
After this, it’s onto installing sink fixtures and finishing up the installation of the ceiling fans. Let’s go!
More ceiling fan installation
We had two ceiling fans updated. Did you know you need to pay an electrician plus there’s the cost of the hardware involved in this type of update?
This is the original:


Updated to thiiiiiiiis:


Ok, I think at this point, we’re ready for glamour shots.
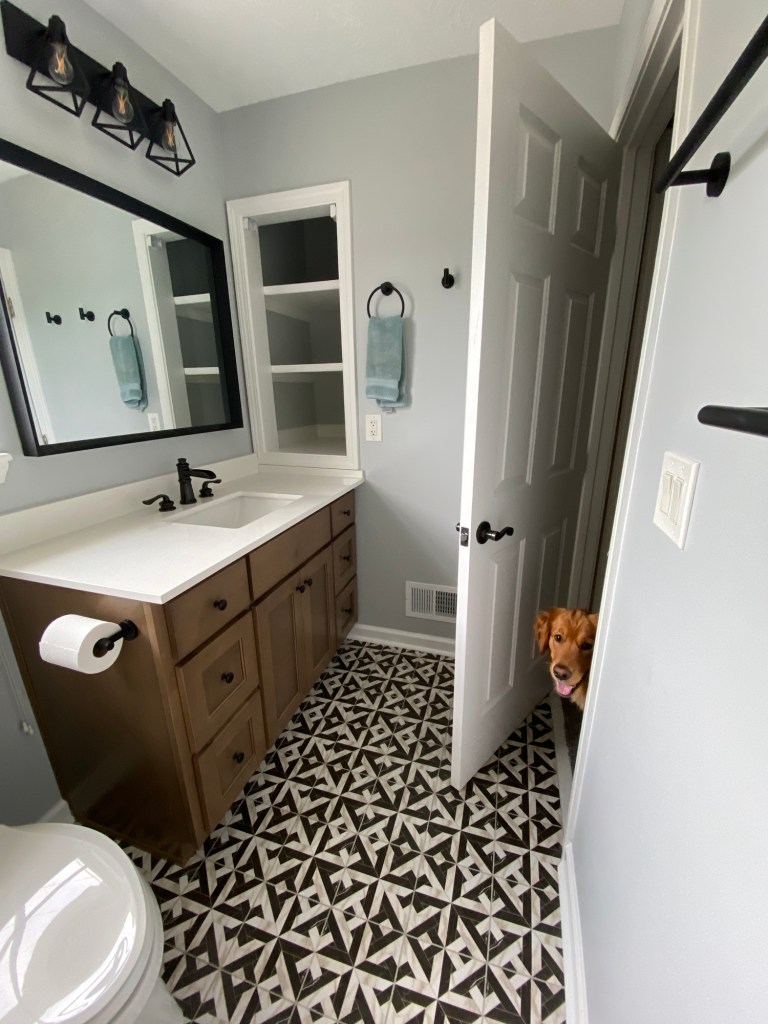
Final product of our bathroom renovation – glamour shots
Grab whatever beverage you like. Rizzo is ready to show you the big reveal!
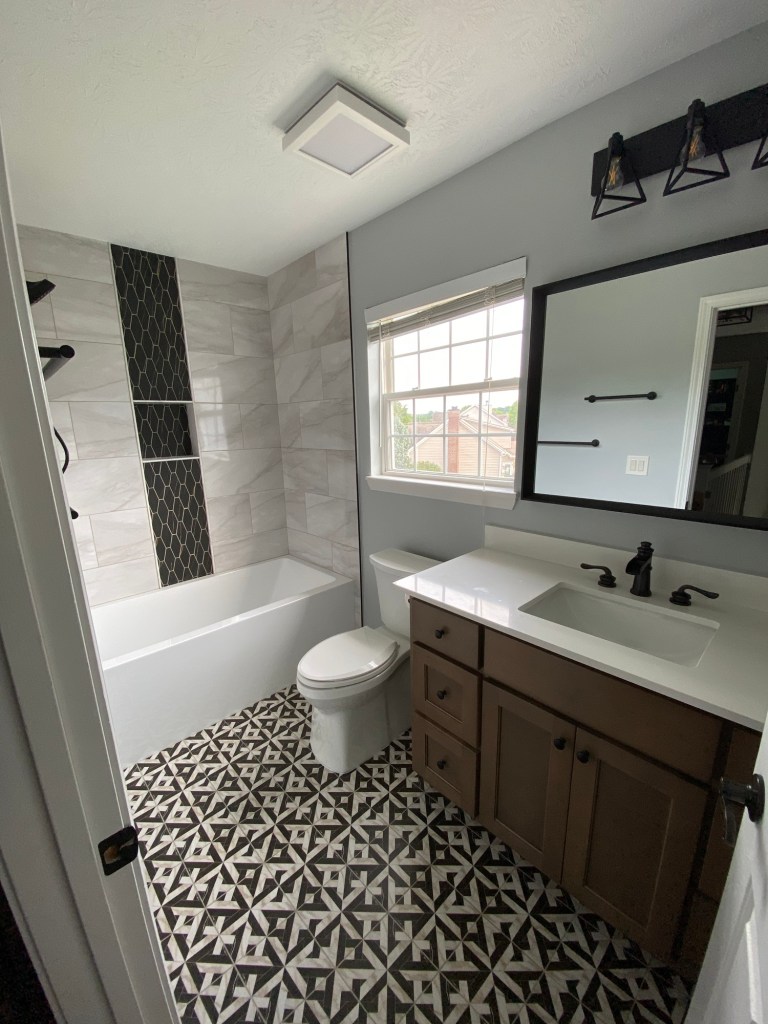


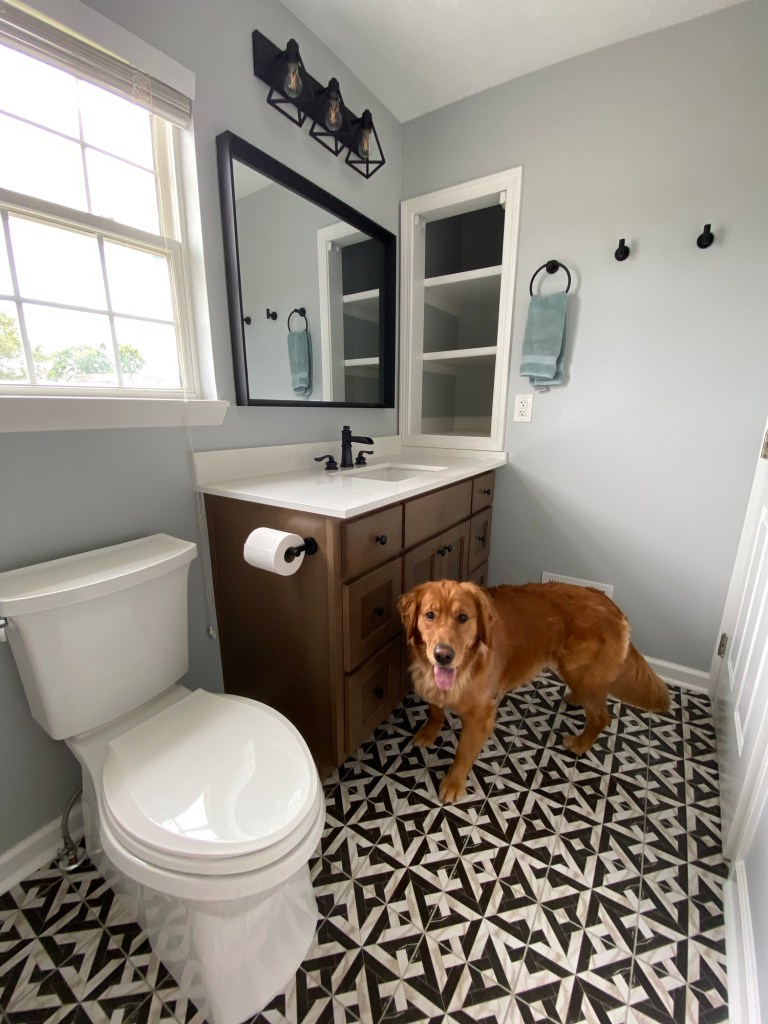


Phew! This all makes it look easy. At one point this was me: “are we done yet?”
But, thankfully, we had a great team in our GCs from GRB Design.
We’re happy with the result. We chose such a fun bathroom tile pattern we barely want to put in a bath mat in there. Maybe just this will do 😉
General contractor: GRB Design, www.grb-design.co, Owner Gary Brown
Bathroom tile: The Tile Shop
Custom Cabinets: Vittitow Cabinets
Quartz Counter tops: Surfaces of Louisville
It was an incredible amount of work and coordination. I’m grateful we found a trustworthy and reliable general contractor in the Louisville area.
If you reach out to Gary Brown at GRB Design for your project, tell him Holly & Glenn sent you 🙂

